Step one: the call and the estimate
You call and tell us what you have and what you want. We set a Free Estimate visit, ask a few questions about the bathroom and talk through early ideas.
At the visit we look at the shower, the curb, the walls and the floor, and we discuss layout, glass and hardware. You leave with a clear idea of the options.
The goal of the first visit is understanding, not pressure. You decide when you are ready to go on.
It helps to have photos of the shower and a few ideas ready before the visit, such as finishes you like or a door you saw somewhere. We use them to talk through what is realistic and to show samples that fit your taste.
Step two: measuring
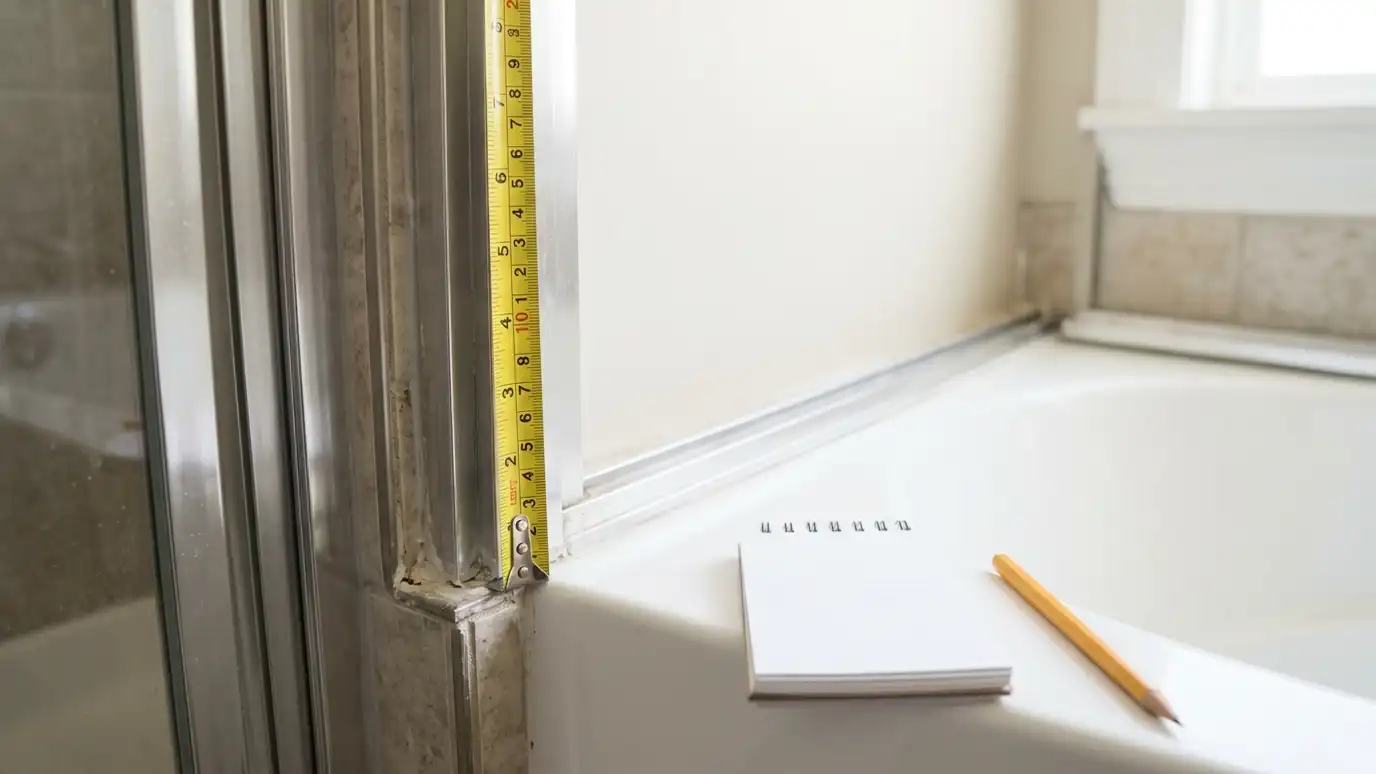
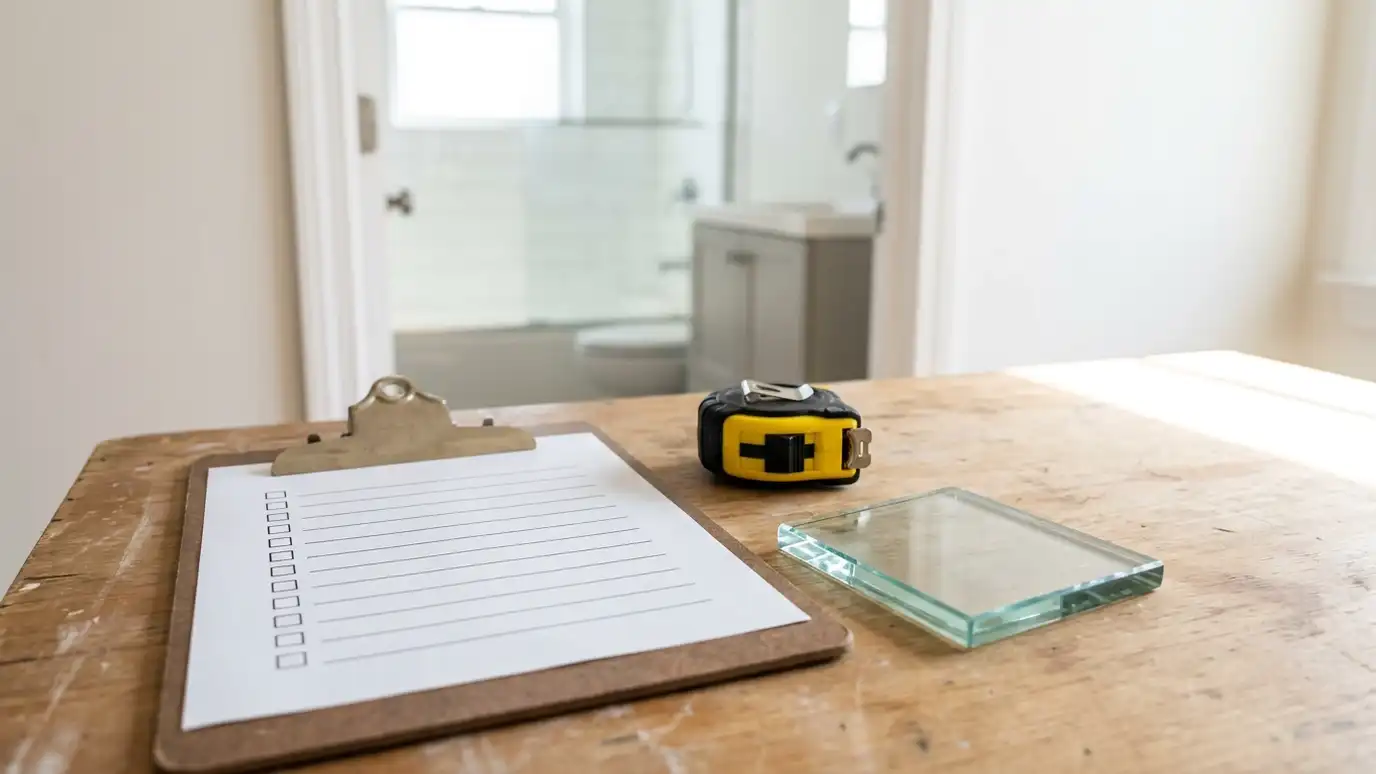
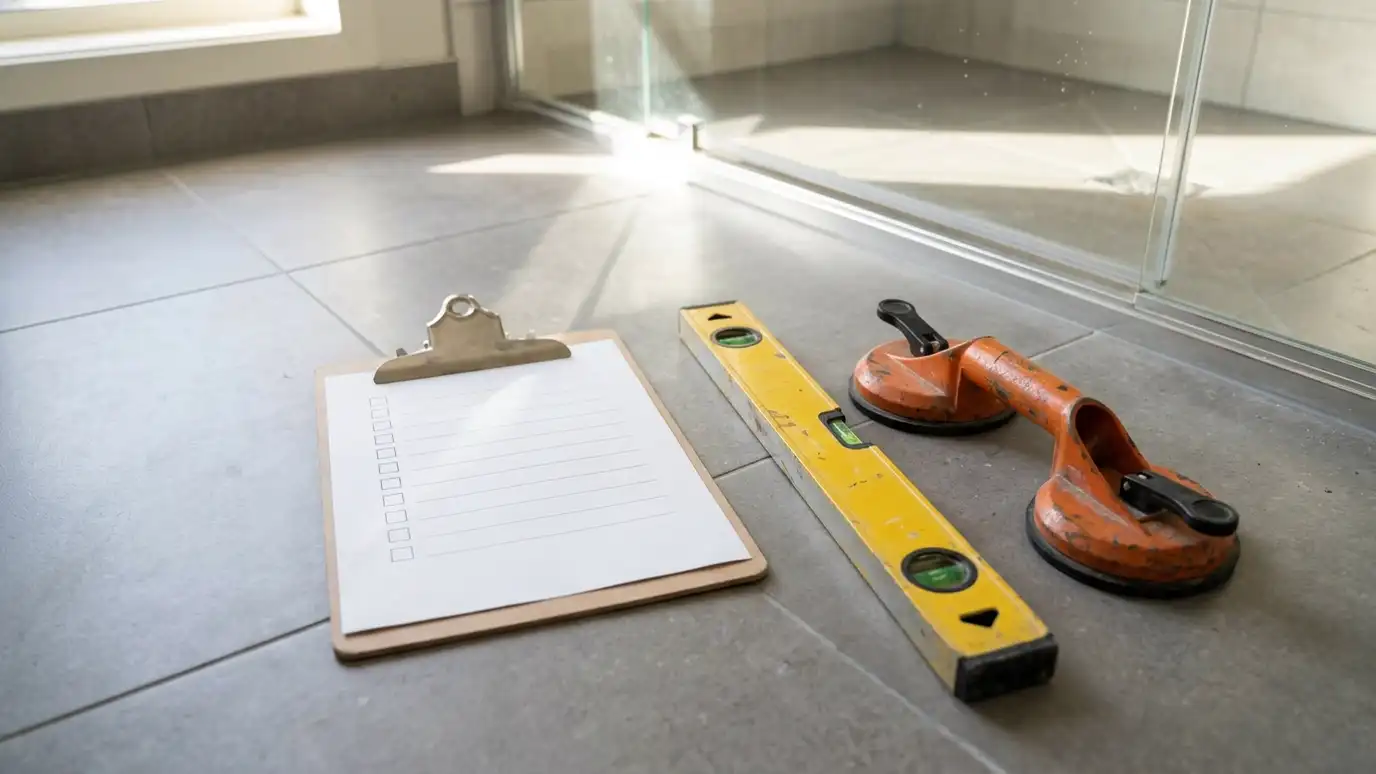
Glass is cut to size and cannot be trimmed later, so measuring is the most important step. We measure the width and the height at several points, check the walls and curb with a level and note any leaning or bowing.
We also check what is behind the tile, so hinges and clamps can be anchored properly.
When tile is being done, we measure after it is finished so the glass fits the real surfaces.
If your tile is new, ask your tile setter to confirm the curb height and the wall tolerances before we measure. Sharing that information with us early avoids a surprise at installation time.
Step three: choosing and confirming
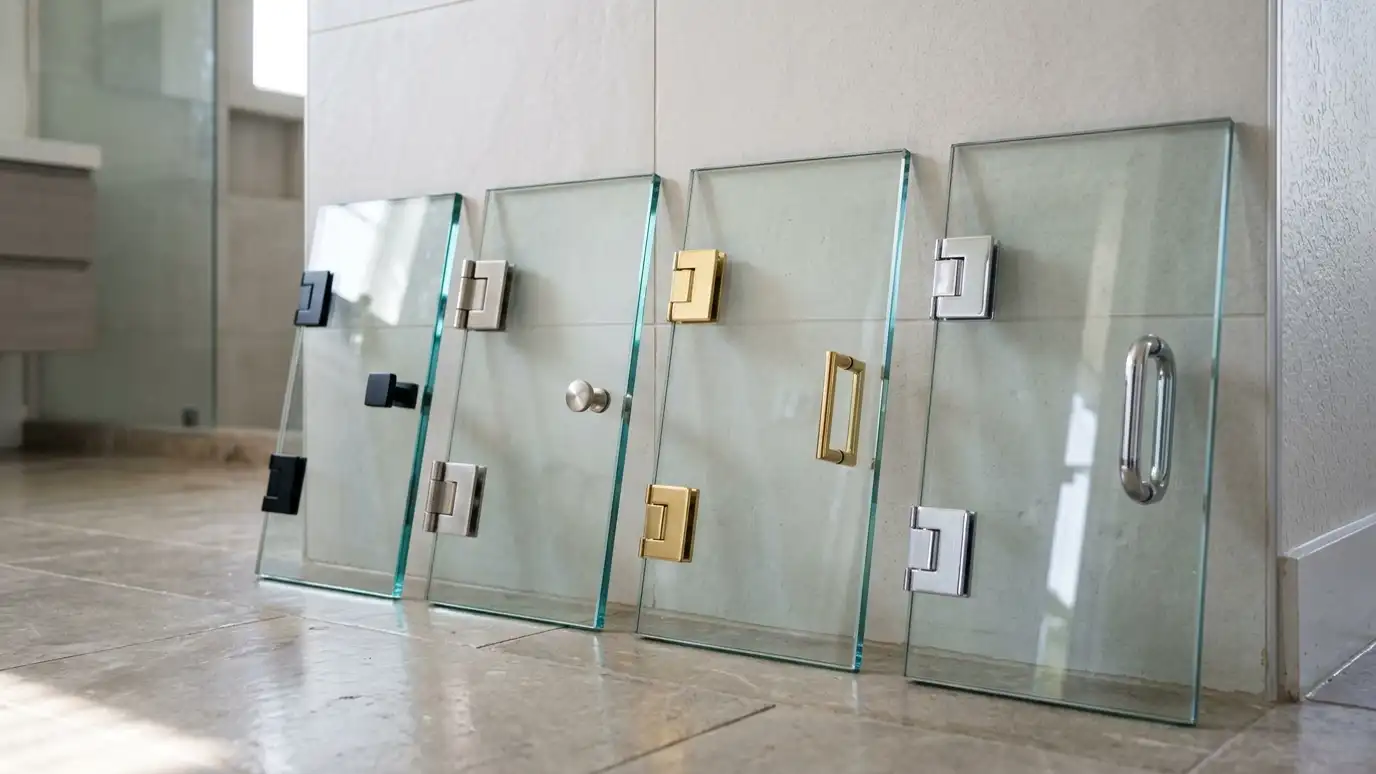
We review glass thickness and type, hardware finish, handle style, seals and layout with you. You see the choices in writing and approve them before anything is ordered.
If something is unclear, now is the time to ask. Once glass is fabricated, changes are not possible.
We confirm the schedule and any lead time for hardware or special glass.
Take your time with the choices. Many homeowners find that seeing glass edges, hardware finishes and handle styles side by side in their own bathroom light changes their minds in a good way.
Step four: fabrication
The glass is cut, polished, drilled and tempered to your measurements. This takes time, often one to three weeks, depending on glass type and the workload.
Hardware is ordered to match. When the glass arrives, we inspect it for chips, scratches and correct holes before installation.
If something is wrong, we reorder rather than install a compromise.
While glass is being made, you can prepare the room. Clear the shower, plan for a day without it and make sure the path to the bathroom is open for carrying heavy panels.
Step five: installation
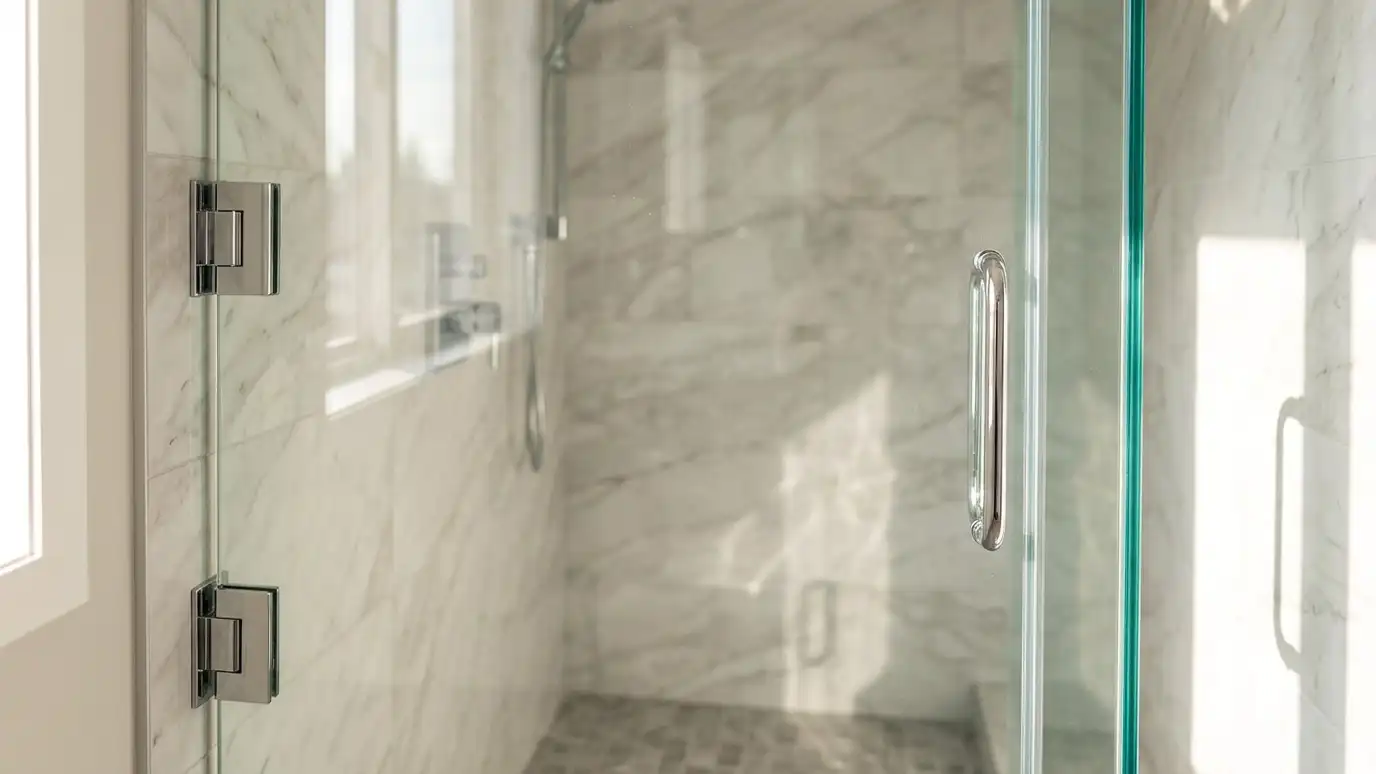
We protect your floors and fixtures, then set the hardware and the glass. We adjust hinges, set seals and sweeps and check that the door swings freely and closes against its seal.
Most installations take a few hours, and we clean the glass and the area when we finish.
We show you how to open, close and care for the door.
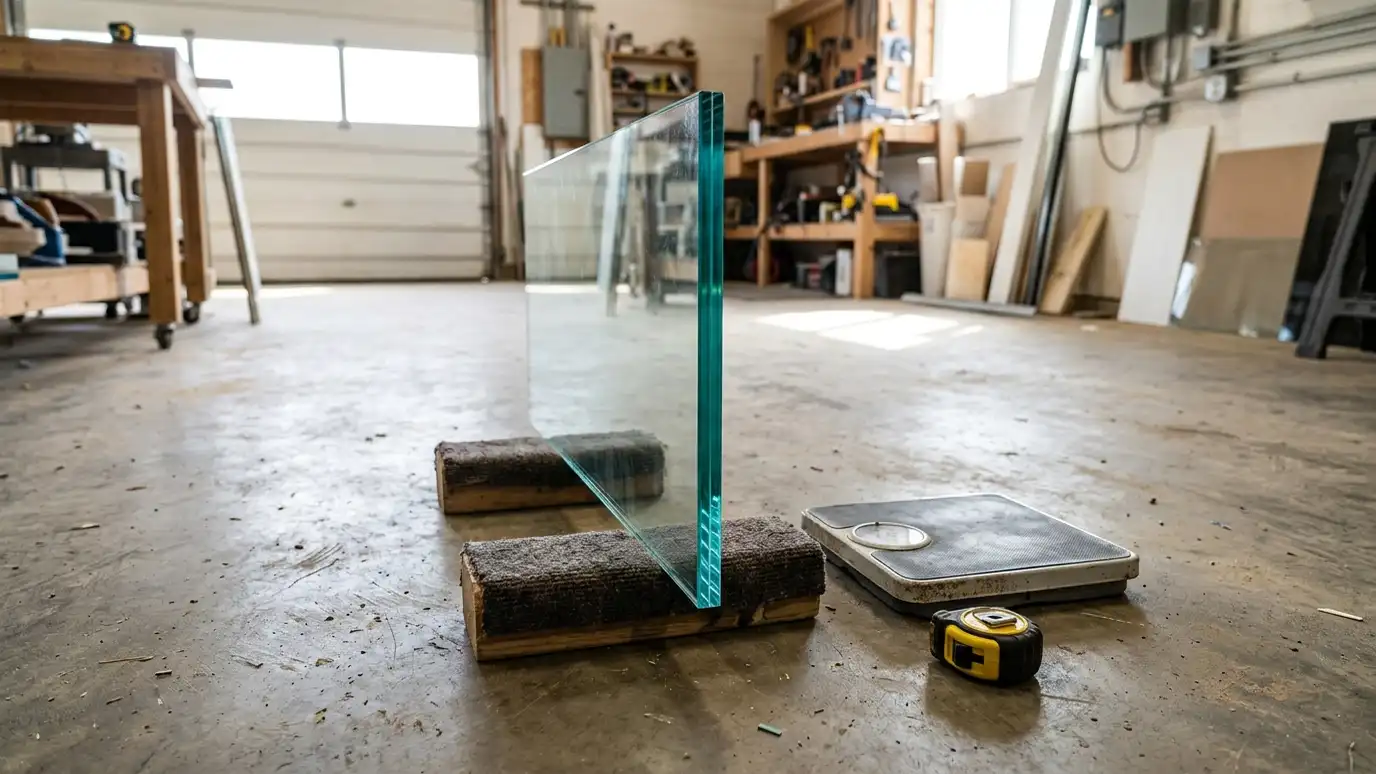
On installation day, expect some noise from drilling for anchors and some patience while the glass is set. We use pads and boards to protect your floor and fixtures, and we clean up before we go.
Step six: follow-up
After the job, we check in if you wish. If a door needs a small adjustment as things settle, we are glad to come back and tune it.
We keep your measurements and hardware details on file, so replacing a seal or ordering a part later is easier.
Good installations are quiet, smooth and easy to live with, and that is our goal.
A short follow-up is good for everyone. Silicone cures, doors settle and small tweaks may help. We would rather hear from you and adjust than leave a door that is almost right.
Measure after tile is finished, approve the details in writing and give the glass the time it needs to be made well.